In a world where bold colors and extravagant trends often steal the spotlight, there’s something undeniably timeless about a well-executed neutral makeup look. Imagine stepping out of your door feeling effortlessly chic, with a complexion that radiates freshness and eyes that sparkle while maintaining an air of subtle sophistication. This versatile style enhances natural beauty and adapts seamlessly to any occasion be it a casual brunch or an important business meeting.
Mastering the art of neutral makeup is all about balance and technique. It involves understanding how to highlight your best features without overwhelming them with color.
What Is a Neutral Makeup Look?

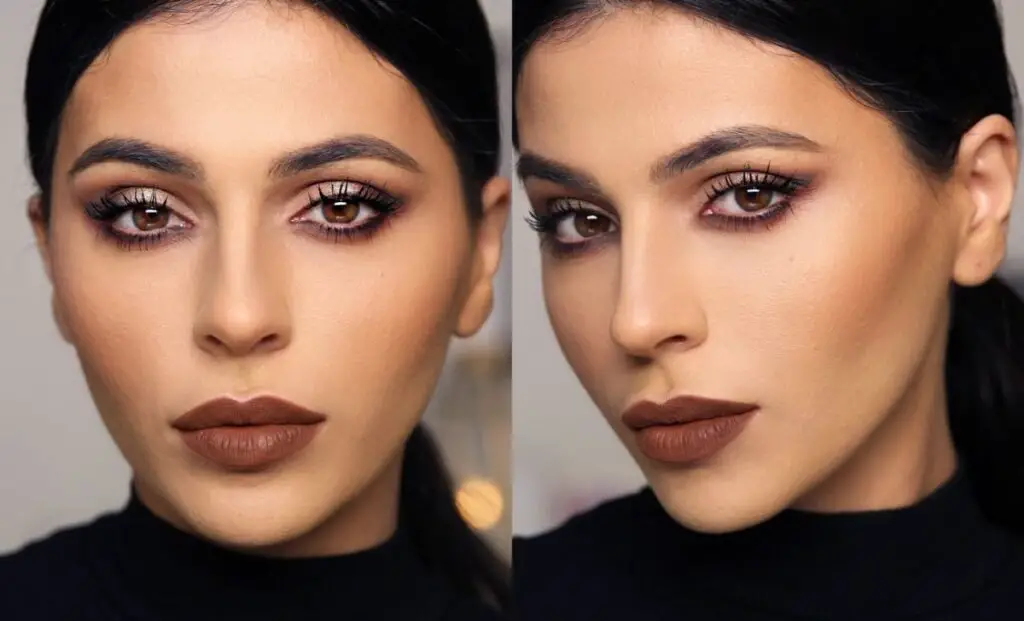
A neutral makeup look transcends the boundaries of trends, embodying a timeless elegance that enhances natural beauty. At its core, this style focuses on soft tones and subtle variations in texture, allowing your skin to shine while accentuating your features. The palette often includes earthy shades such as warm browns, soft taupes, muted whites, and gentle pinks ensuring the overall effect appears polished yet effortlessly chic.
Its versatility sets a neutral makeup look apart; it can adapt seamlessly from day to night with just a few tweaks. A touch of highlighter and a bolder lip can transform the look for an evening out while maintaining a fresh-faced vibe suitable for office or casual outings during the day.
Neutral makeup is the perfect canvas that enhances your natural beauty without overshadowing it. Start by selecting a foundation or tinted moisturizer that matches your skin tone, creating a seamless base. Don’t underestimate the power of concealer; use it to brighten under-eye circles and cover any blemishes for a smooth finish. The key here is to blend well soft circular motions that can diffuse products beautifully while ensuring longevity.
Let’s discuss a few steps:
Step 1. Prime Your Skin
Priming your skin is the crucial first step in achieving a flawless neutral makeup look, setting the stage for how everything else will layer on. A well-chosen primer not only smooths out imperfections and fine lines but also ensures that your makeup adheres beautifully throughout the day. Consider selecting a primer with a lightweight, hydrating formula, especially if you have dry or combination skin. Look for ingredients like hyaluronic acid or aloe vera to give your complexion an extra boost of moisture without feeling greasy.
Step 2. Create a Flawless Complexion
Achieving a flawless complexion is the cornerstone of any neutral makeup look, and it begins with a well-prepped canvas. Start by cleansing your skin thoroughly to remove impurities, followed by exfoliating gently to slough off dead skin cells. This step not only ensures your makeup adheres better but also reveals a fresh layer of radiant skin. Hydration is equally crucial; choose a lightweight moisturizer that suits your skin type to create an even surface for product application.
Step 3. Conceal Where Necessary
When it comes to mastering the art of neutral makeup, knowing when and how to conceal can make all the difference. Consider your skin type and areas you wish to downplay. If you have dark circles or blemishes, choose a lightweight concealer that matches your foundation but offers slightly more coverage. Dab it on with a fingertip or a small brush gentler techniques prevent disturbing the foundation underneath while allowing for seamless blending.
Step 4. Fill In Your Brows
Filling in your brows is not just about enhancing their shape, it’s a subtle art form that can transform your entire look. Opt for a product that complements your natural hair color be it a pencil, powder, or pomade, and start by filling in sparse areas with light, feathery strokes. This technique mimics the appearance of real hair and creates a more organic look. Brows should frame the face uniquely; what works wonders for one person may not suit another
Step 5. Create a Neutral Eyeshadow Look

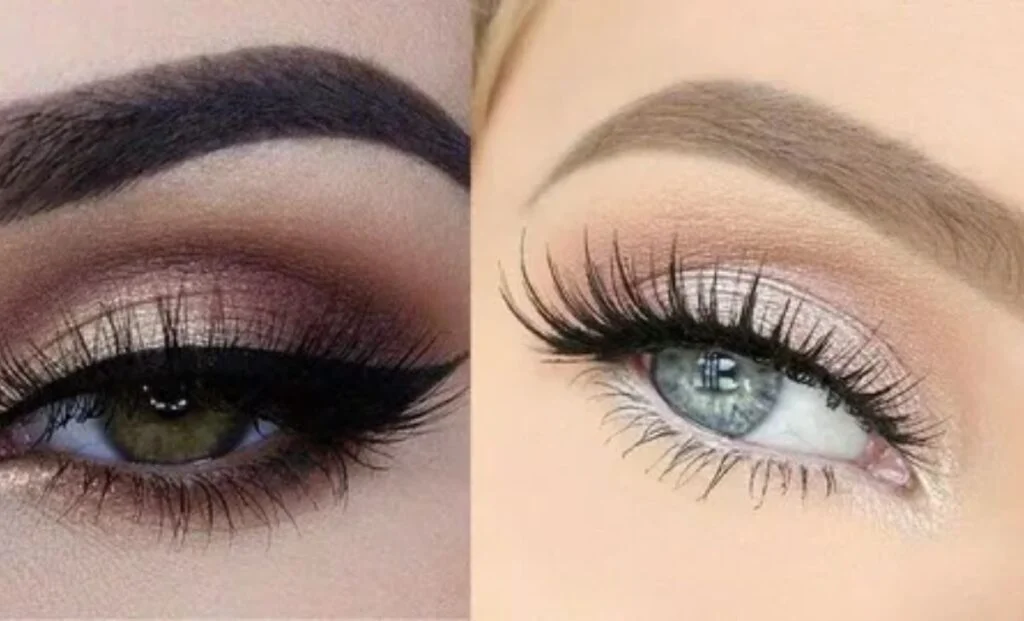
Creating a neutral eyeshadow look is an art form that transcends basic application; it’s about finding harmony with your features and personal style. To begin, consider the undertones of your skin warm, cool, or neutral, and select shades that complement these tones. For warm undertones, rich beiges and soft bronzes can beautifully enhance your natural vs neutral glow, while cool undertones can be uplifted by taupe and soft mauve hues. A palette incorporating a range of matte and shimmer finishes not only adds depth but also creates dimension to the eyelids
To elevate this classic look further, play with textures beyond the traditional powder shadows. Cream formulas offer blendability that’s perfect for achieving seamlessly smooth transitions between colors.
Step 6. Line Your Lids
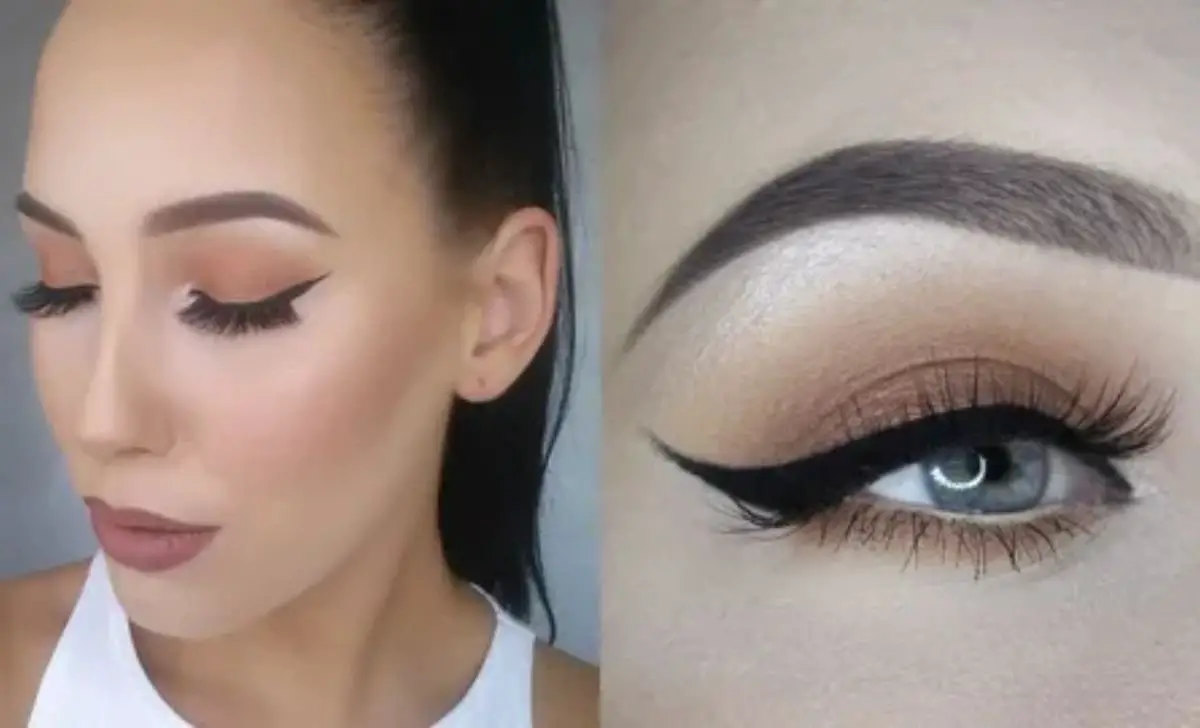
When it comes to defining your eyes, lining your lids can transform an everyday look into a striking statement. The key lies not just in the product you choose but in the technique that breathes life into your gaze. Opting for a gel liner offers precision and longevity, making it perfect for both bold winged looks and delicate tight lining. The application angle can drastically affect your outcome; tilt your head back slightly when applying eyeliner to achieve a smoother line along the waterline.
But it is not only about sticking to traditional dark shades. Experimenting with colored liners think deep greens or rich burgundies can add intrigue without overwhelming your features.
Step 7. Define Your Lashes
Defining your lashes is an art that transcends mere makeup application; it’s about sculpting a statement. Rather than approaching this step with the mindset of simply enhancing what you have, think of it as crafting a signature look that reflects your unique personality. Layering different formulas can create intriguing textures try pairing a lengthening mascara for additional definition and volume alongside a waterproof version to lock in the perfect curl throughout the day.
Step 8. Add Dimension With Bronzer
Adding dimension with bronzer is all about enhancing your natural features and creating a sun-kissed glow that brings life to your face. Rather than simply sweeping bronzer across the cheekbones, consider using it strategically to sculpt and define. For instance, apply bronzer along the jawline and temples for a lifted appearance; this technique not only adds warmth but can also create an illusion of depth in your facial structure.
Experimenting with different application tools can unlock new possibilities for your bronzing routine. A fluffy brush offers a soft diffused look perfect for daywear, while a more densely packed brush can help achieve that striking evening contour when you want to stand out more.
Step 9. Add Color Blush
Adding color blush to your makeup routine is often the key to achieving that coveted radiant glow. When applied correctly, blush not only enhances your cheekbones but also imparts a youthful vibrancy to your complexion. The secret lies in choosing a shade that complements both your skin tone and the overall look you’re aiming for. For instance, warm peachy hues can invigorate sun-kissed skin, while cooler pinks benefit those with fairer complexions.
Step 10. Swipe on Lipstick
When it comes to the final flourish of your makeup routine, the right swipe of lipstick can transform not just your look but your entire mood. Lipstick is more than just a shade; it’s a statement that communicates confidence and charisma. Opt for bold colors when you’re feeling fierce think fiery reds or vibrant pinks as they can completely shift how you carry yourself throughout the day. Conversely, softer nude tones offer versatility and approachability, allowing you to navigate both professional settings and social gatherings with ease.
Step 11. Lock It All In Place
Locking it all in place is where the magic of your project truly coalesces. This step is not merely about sealing off your hard work; it’s a commitment to ensuring that every element functions cohesively within the broader framework. Think of this stage as adding the final brushstrokes to a masterpiece highlighting, refining, and securing each aspect so they resonate harmoniously with one another.
Consider the various mechanisms available for locking things down. Whether you’re setting up backups for digital data or physically organizing components in a workspace, each choice amplifies stability and enhances efficiency.
Finally, view this moment as an opportunity for reflection are there elements that need adjusting before solidifying them? Engaging in this dialogue with yourself can spark revelations about potential improvements or new avenues worth exploring. Locking it all in place isn’t just about finality; it’s about catapulting what you’ve created into its next chapter with confidence and clarity.
Conclusion
Achieving a flawless neutral makeup look is all about balance and subtlety. By focusing on enhancing your natural features with soft tones and minimal products, you can create an effortlessly chic appearance suitable for any occasion. Remember to choose shades that complement your skin tone and blend seamlessly for a polished finish. With a few essential tips and techniques, you will master the art of neutral makeup in no time. So grab your favorite products and start experimenting with your stunning neutral looks today.
Frequently Asked Question
What are neutral colors in makeup?
There is no official makeup style called neutral makeup. Neutral describes the colors and tones used. A neutral makeup look features colors like beige, tan, mauve, brown, gold, bro
What makeup looks good on a neutral skin tone?
For neutral skin tones, warm and cool shades both work well—try soft peach or rose blush, and eyeshadows in taupe, bronze, or mauve. A nude or rosy lipstick complements the natural undertones beautifully.

